
Set up your white label checkout
Sign-up forms are so uncool. To the customer, they are the perfect repellent - keeping them from getting access to your product. Unless your customer is a mosquito you want to keep sign-up forms as far as possible. A fast and clean checkout is so much better and is also a conversion machine. Let’s set up your white-label checkout.
Checklist:
- URL for your checkout page
- Add URL to Settings
- Style your checkout page
- Additional checkout settings options for more flexibility and power
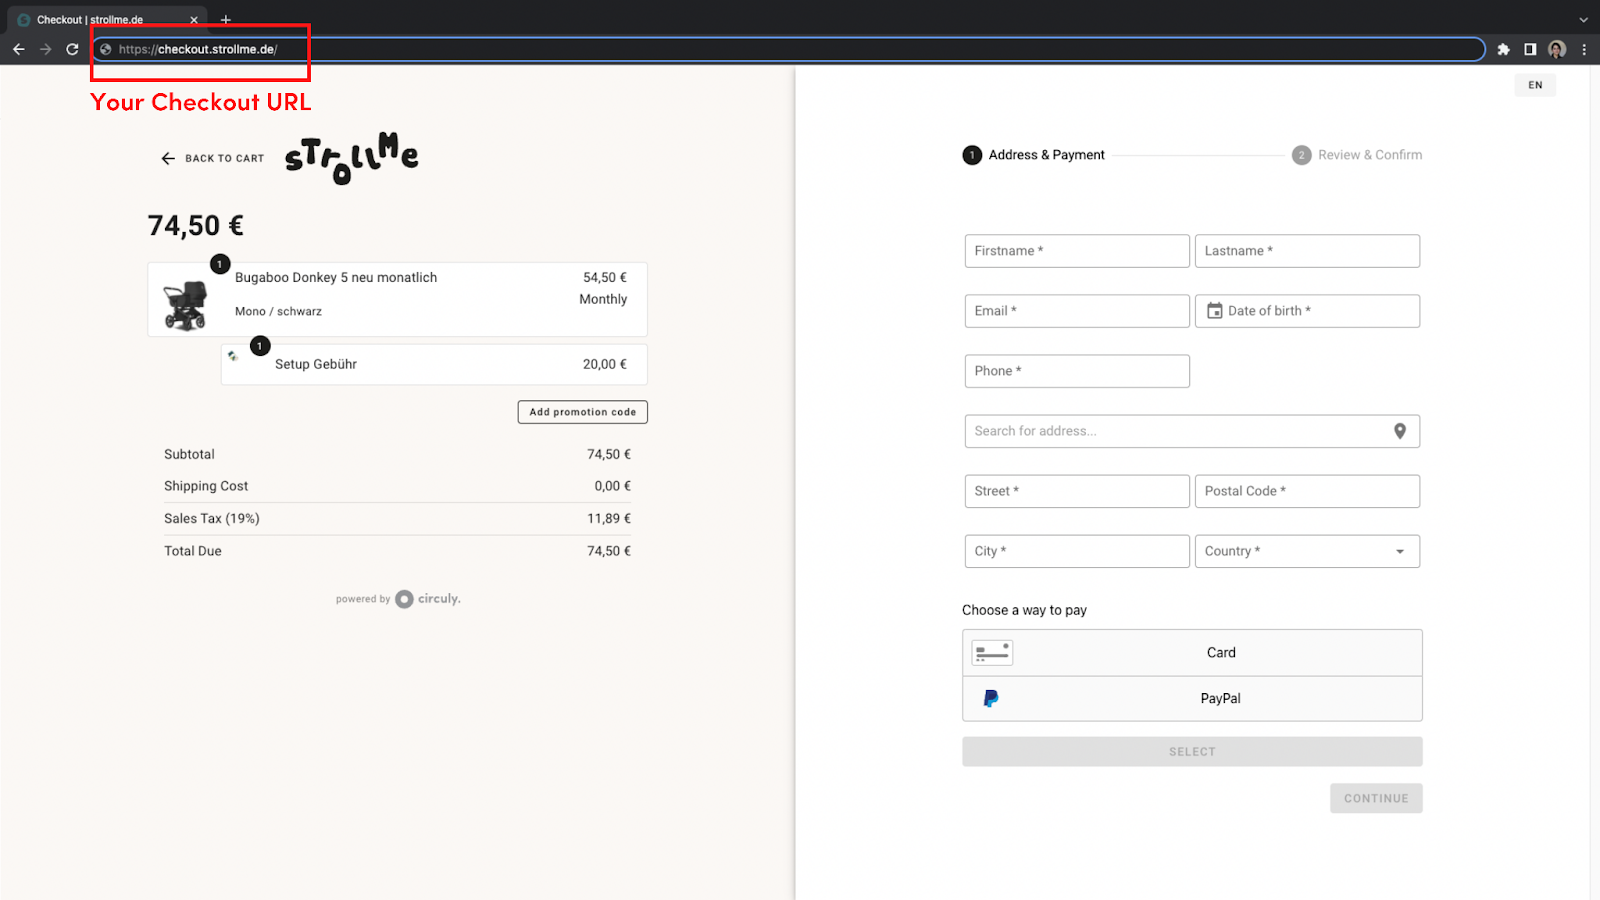
1. URL for your checkout page
The circuly white label checkout runs on our subdomain. We recommend using: checkout.yourdomain.com
Examples from other circuly customers:
- Checkout.strollme.de
- Checkout.abodeinauto.de
- Checkout.mytier.de
2. Adding URL to circuly backend settings
Your checkout URL will be added to your settings page and you will receive a DNS record that you need to add to your hosting provider to complete the checkout setup.
Here are instructions on how to set it up:
- In the same settings, a CNAME DNS entry will be generated as soon as your checkout URL is added to the Checkout URL input field.
- Copy this text > Go to your hosting provider or domain hosting provider > Follow their instructions on how to add a new DNS record.
- Done.
If you need support with the set up, get in touch with your customer success team (send an email to laura@circuly.io).
3. Style your checkout page
Your white-label checkout needs some branding and styling before you set it live for the world to see. Styling your checkout means how your checkout is displayed to your customers, the links they are taken to when they click on your logo and so on.
Here’s what you can customise and style to fit your branding:

3.1 Additional fields on the checkout page
You can add additional fields on the checkout page. See the image below for examples of additional fields from Stokke Start and aboDeinauto.
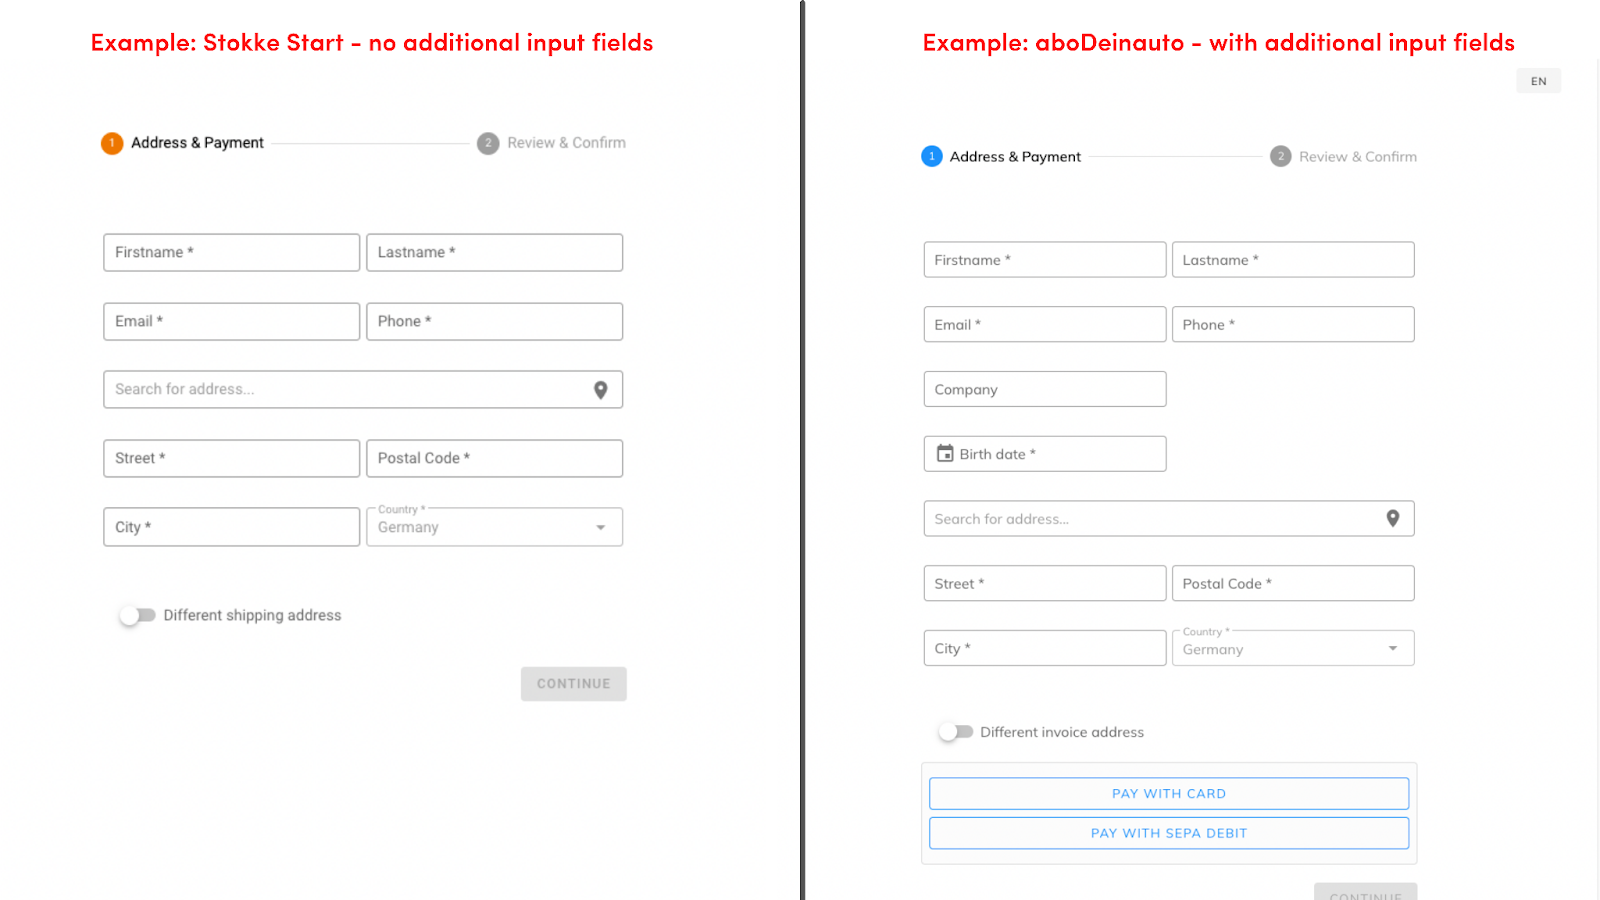
If you want to have any other additional fields on your checkout page, get in touch with us.
Setup Instructions: to enable additional input fields on your checkout page > Log in to your circuly Operations Backend > Go to Settings > Checkout > PERSONAL INFORMATION > Enable the switch for the additional fields you would like to display on your checkout page > Click on SUBMIT CHANGES.
3.2 Homepage URL
This is the URL your customers are taken to when they are on the Order Confirmation page and click on your logo.
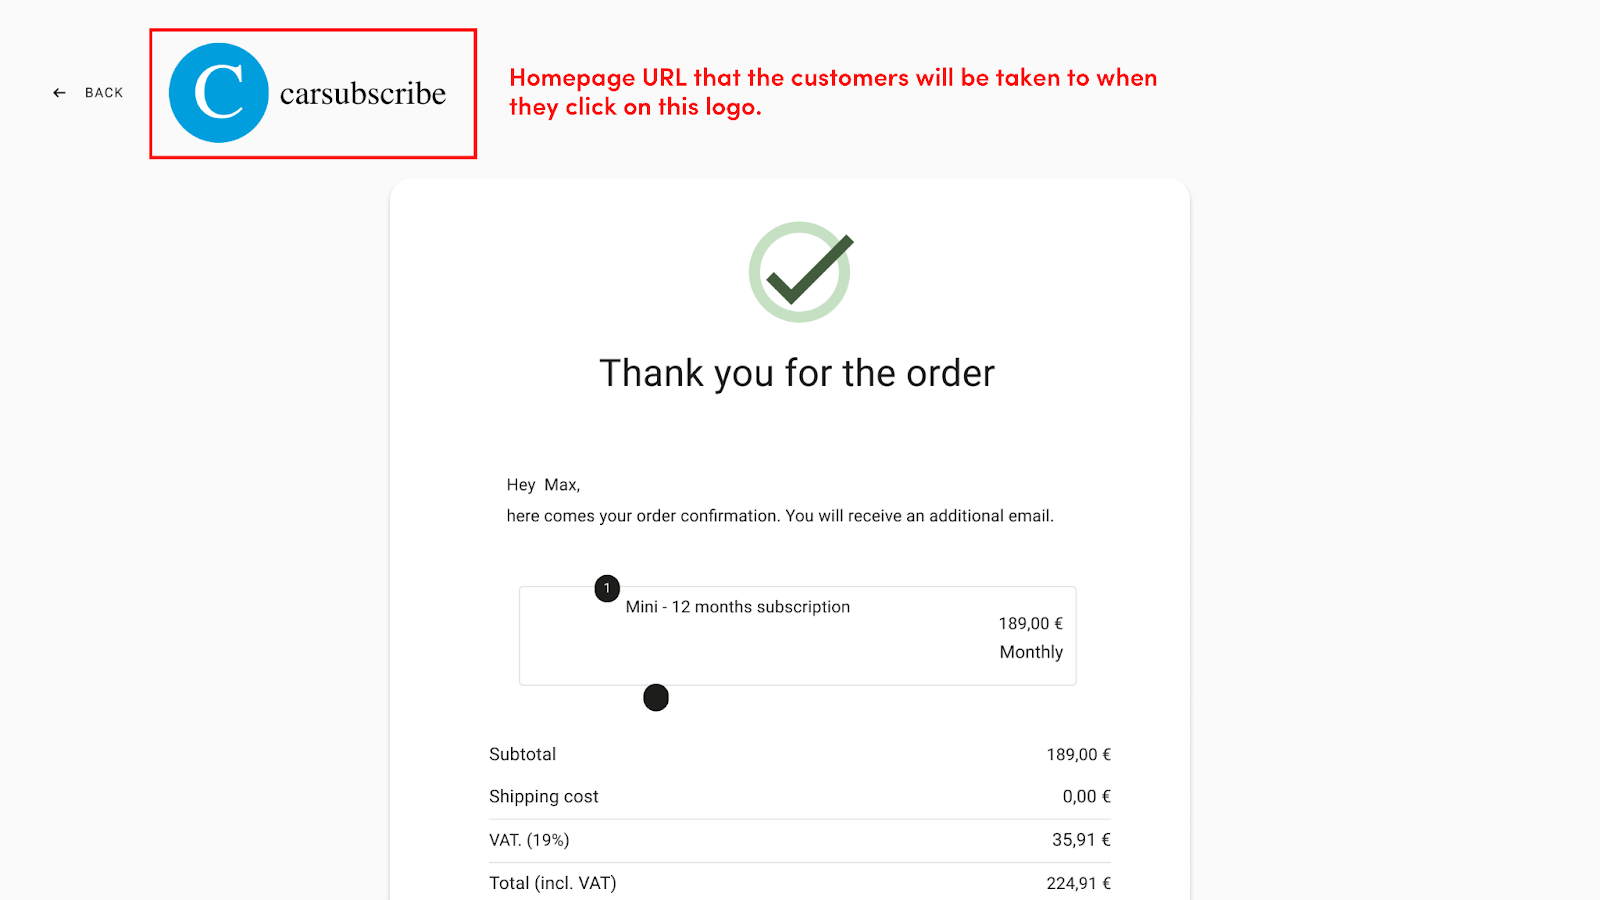
Setup instruction: Log in to your circuly Operations Backend > Go to Settings > Setup & design > CHECKOUT SETUP > Add your Homepage URL in the Homepage URL input field.

3.3 Logo Image URL
Your logo is displayed on the checkout page.
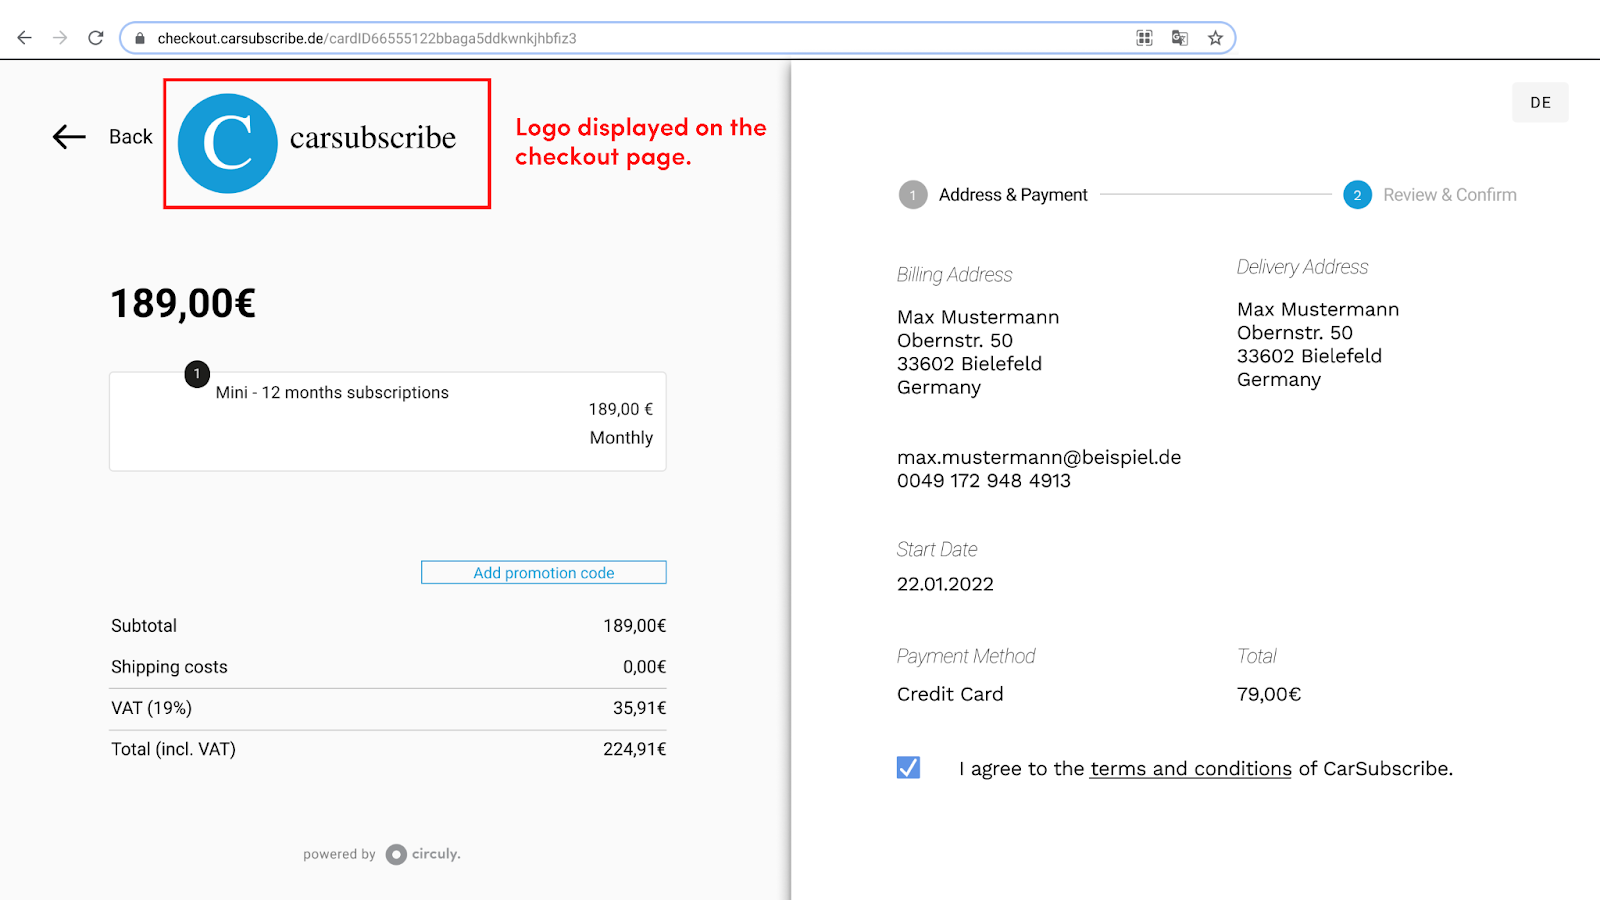
Setup Instructions: Log in to your circuly Operations Backend > Go to Settings > Setup & design > CHECKOUT SETUP > Add the URL of your Logo image in the Logo Image URL input field.

3.4 Terms & Conditions
Your terms and Conditions are displayed on the checkout page after the customer has gone through the payment page.

Setup Instructions: Log in to your circuly Operations Backend > Go to Settings > Setup & design > CHECKOUT STYLING > Add the link to your Terms & Conditions in the Terms & Conditions URL input field.
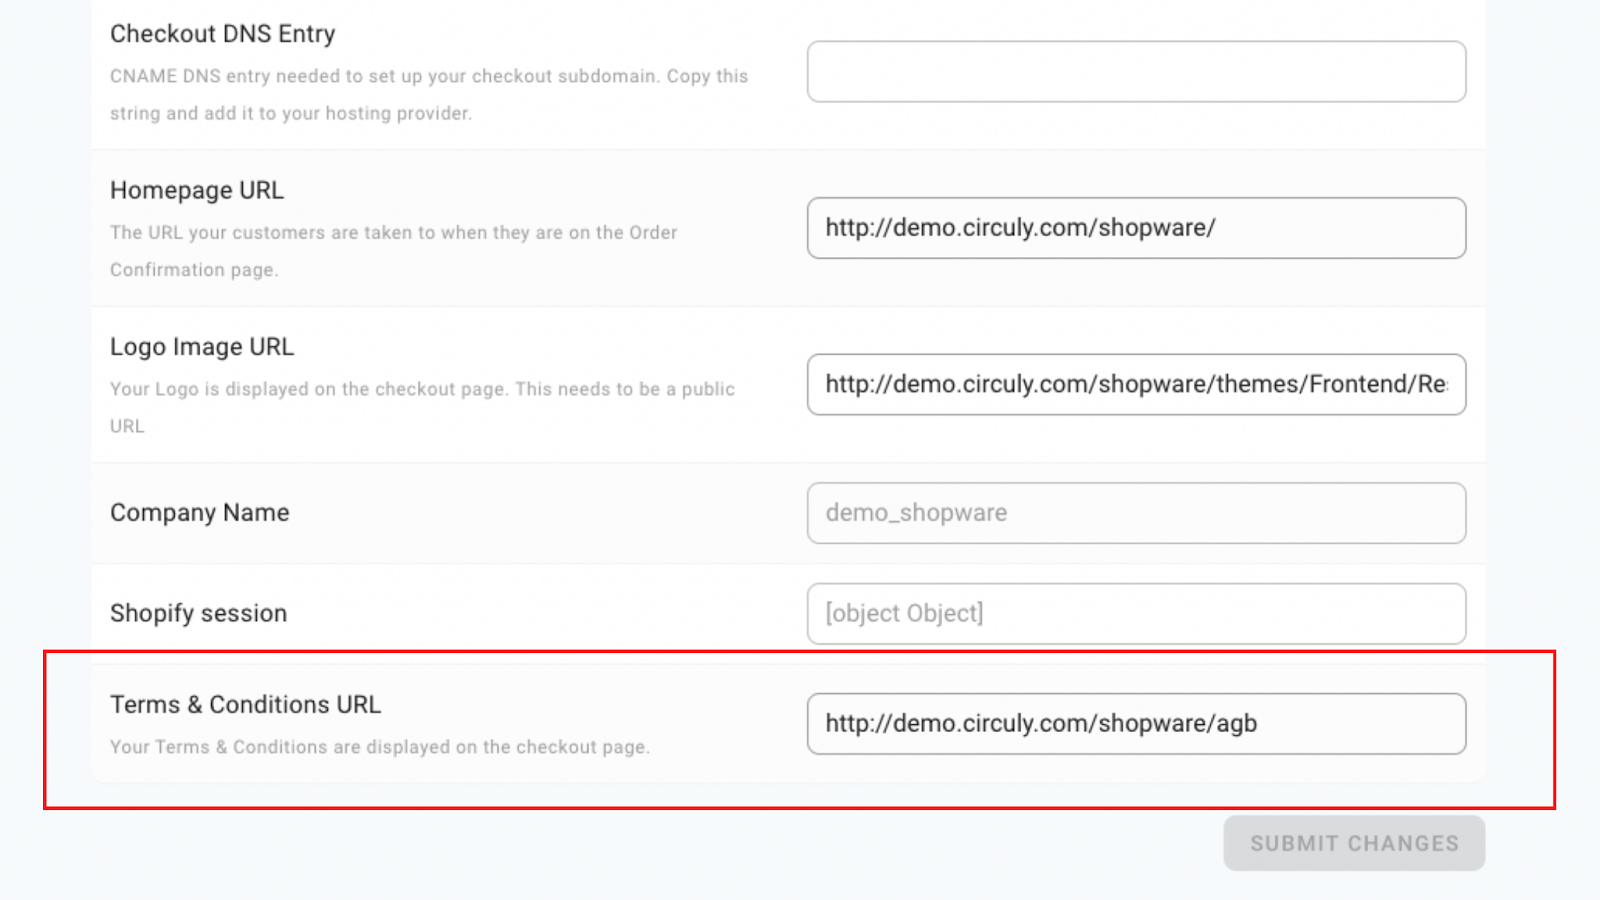
Click on SUBMIT CHANGES when you are finished with the CHECKOUT GENERAL SETTINGS.
3.5 Favicon
Your favicon is displayed in the browser tab.
Setup Instructions: Log in to your circuly Operations Backend > Go to Settings > Setup & design > CHECKOUT STYLING > Insert a Link for your Favicon in the Favicon input field.

3.6 Font family
Text on your checkout page will be displayed in the font you add to this input field
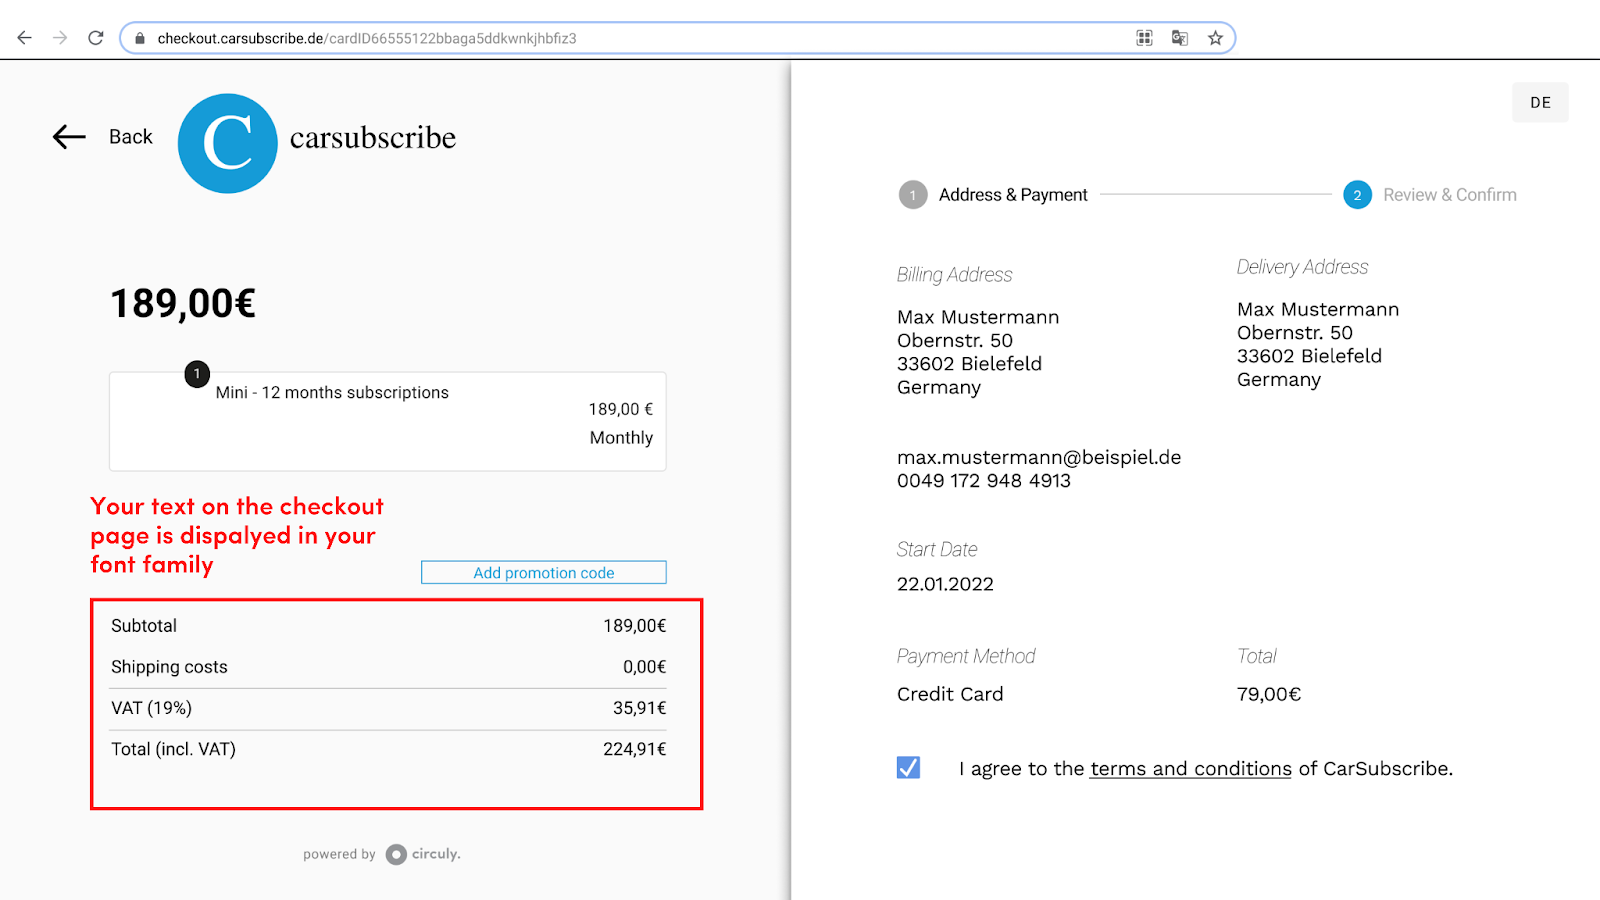
Setup instructions: Log in to your circuly Operations Backend > Go to Settings > Setup & design > CHECKOUT STYLING > Insert your font family in the Font Family input field.

3.7 Primary colour
This colour is used to style your buttons, hyperlinks etc.
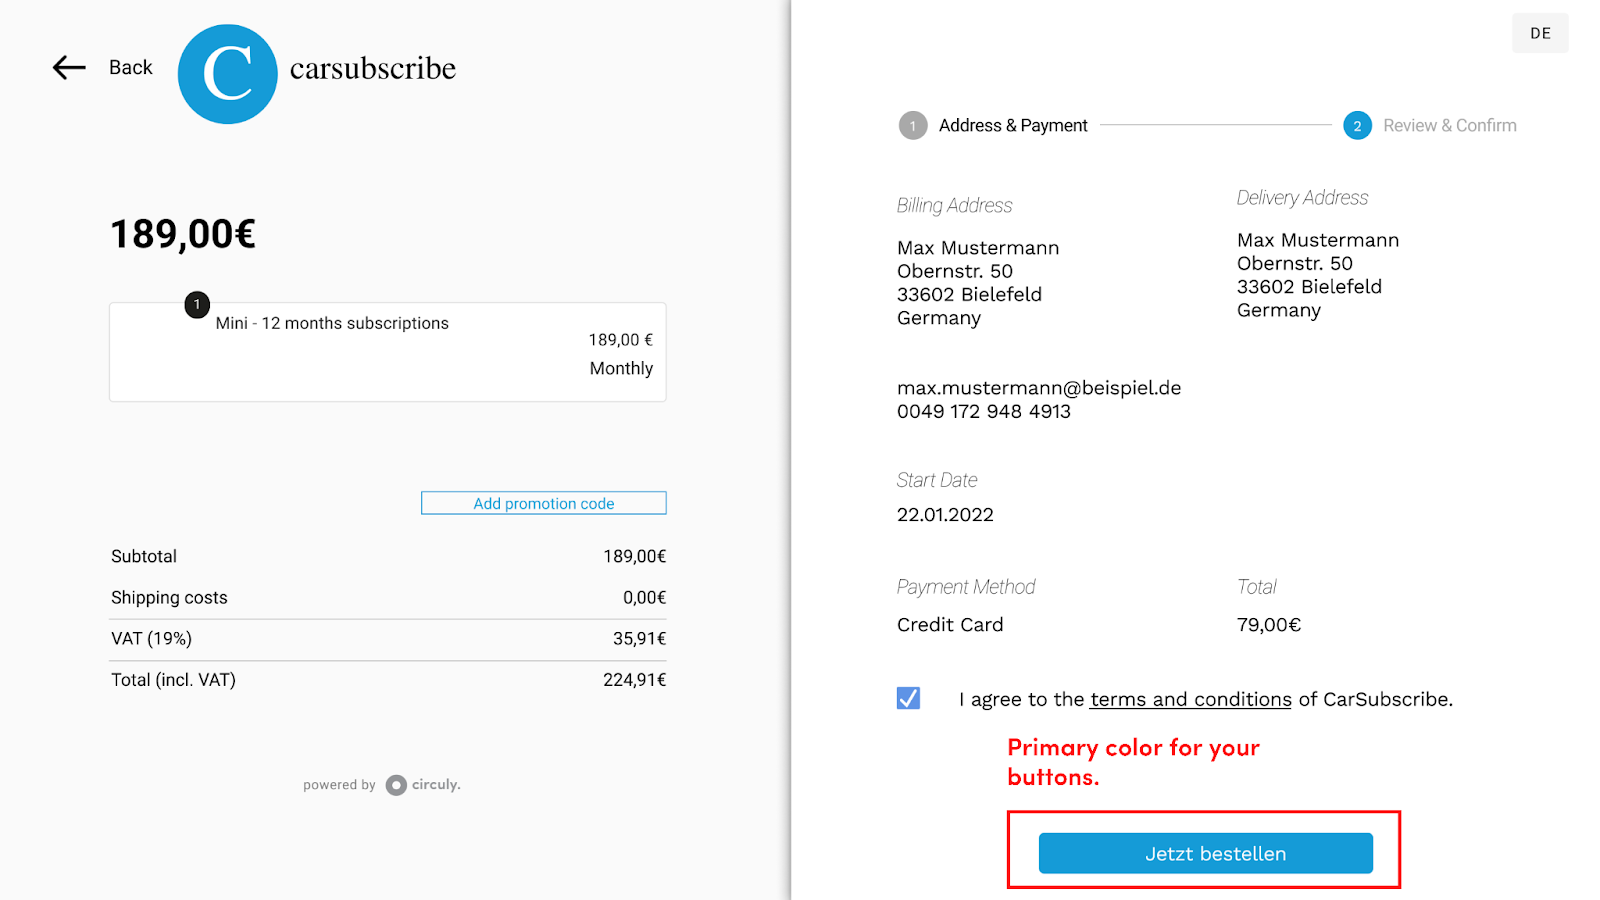
Setup instructions: Log in to your circuly Operations Backend > Go to Settings > Setup & design > CHECKOUT STYLING > Add your primary colour in the Primary colour input field..

3.8 Thumbnail prefix
Prefix URL that is added to your Shop System item pictures.
Setup instructions: Log in to your circuly Operations Backend > Go to Settings > Setup & design > CHECKOUT STYLING > Add a URL that will be displayed as prefix to your Shop System item pictures in the Thumbnail prefix input field.

Click on SUBMIT CHANGES when you are finished with the CHECKOUT GENERAL SETTINGS.
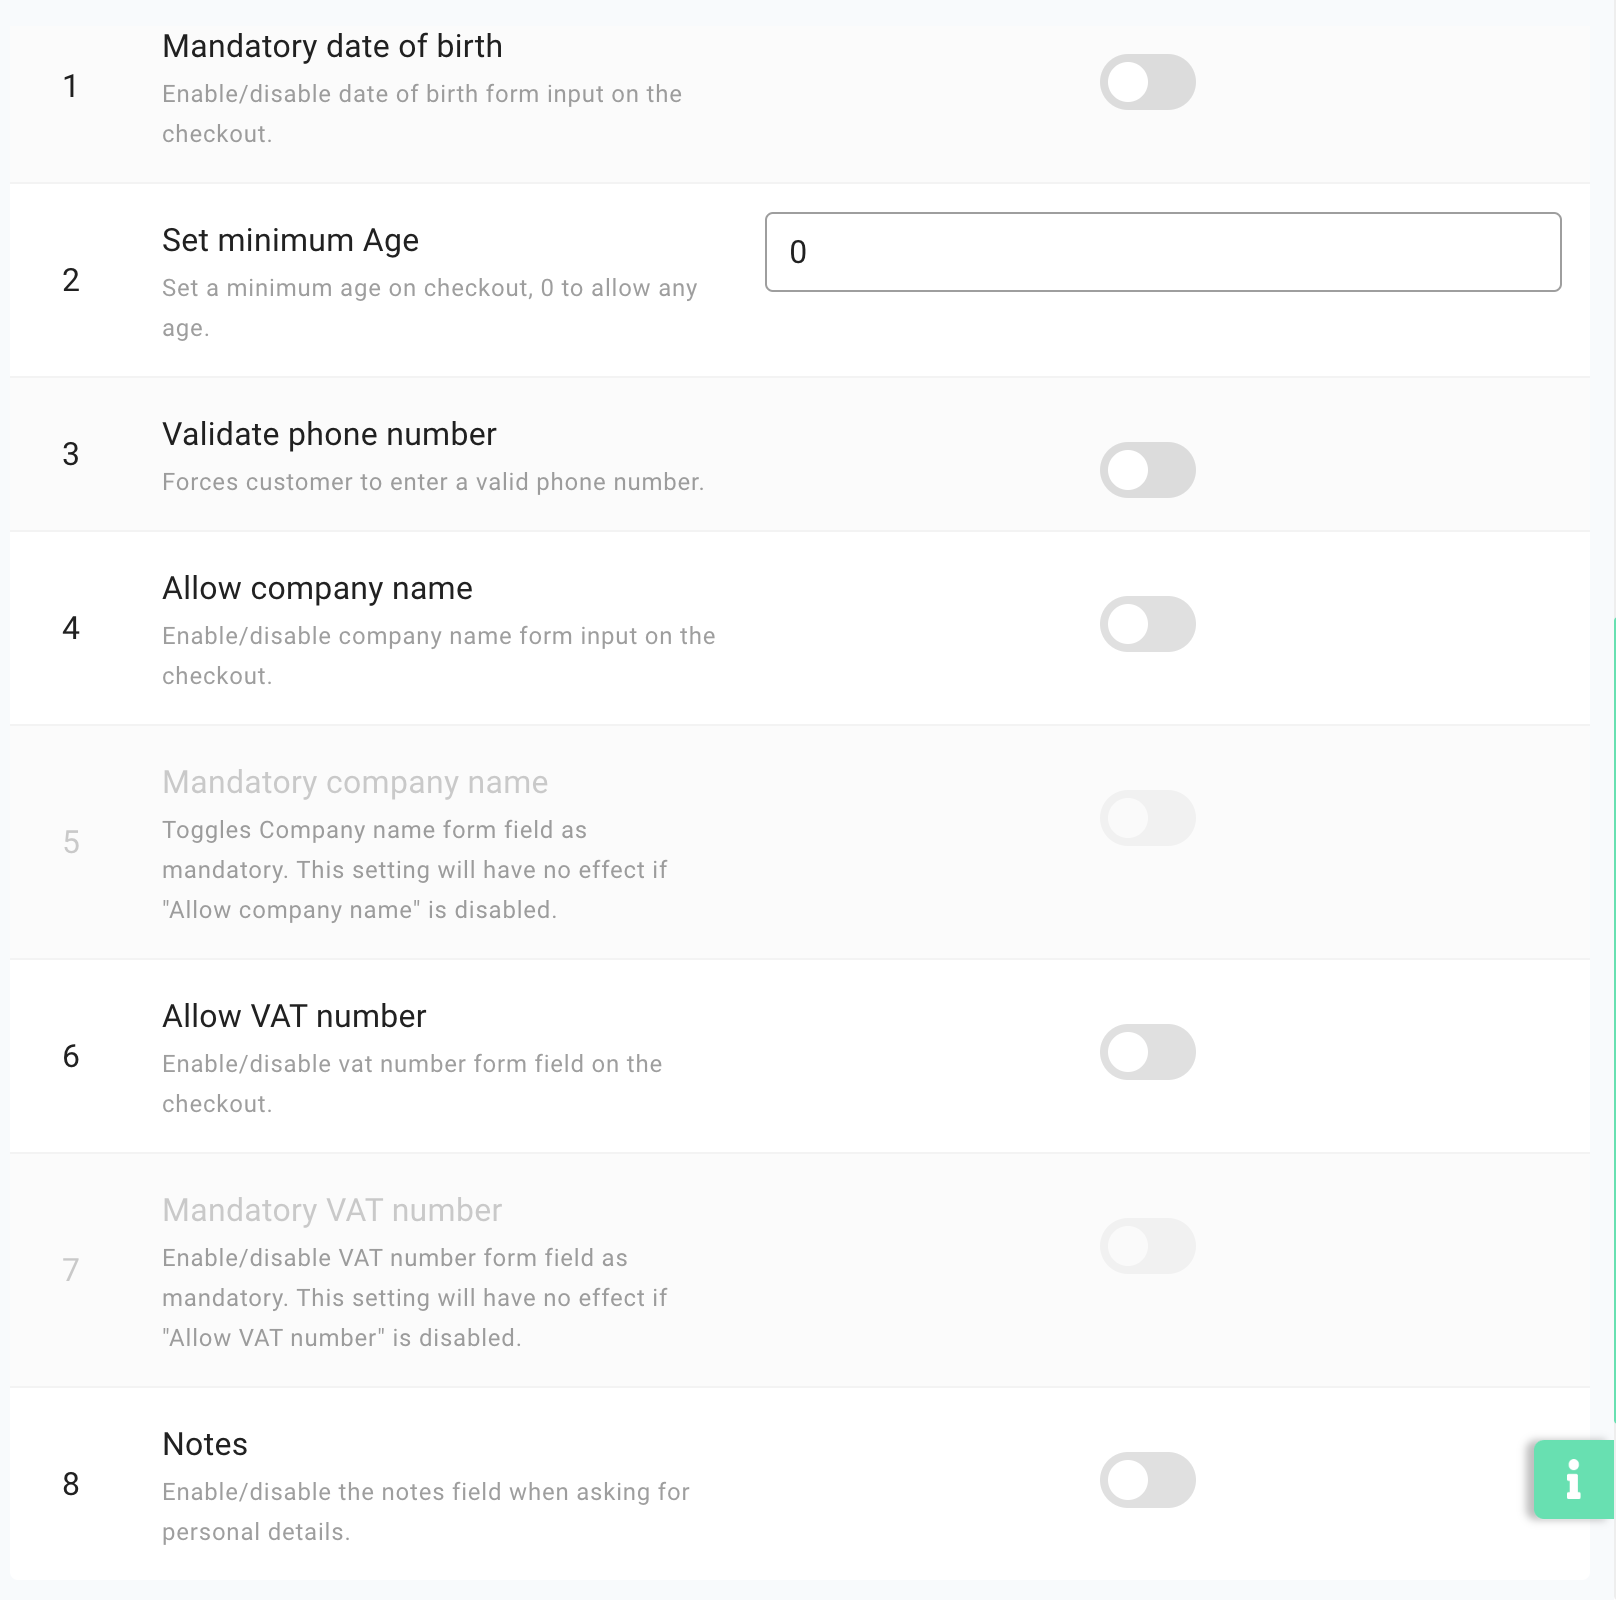
4. Additional checkout settings options for more flexibility and power
Besides the styling and additional fields, you can further customise how your checkout page functions. There are additional checkout settings that you can enable/disable as per your rental business needs. We’ll go through all the settings so that you can have a fully optimised checkout page.
- Valid phone number - you can make your customer enter a valid phone number. If the customer tries to proceed to the payment page without inserting a phone number, they will be prevented to do so if the Validate phone number setting switch is enabled. To enable the setting > Log in to your circuly Operations Backend > Go to Settings > Checkout > PERSONAL INFORMATION > Enable the switch for Validate phone number.

- Voucher Codes: you can enable/disable displaying the voucher code on the checkout page. When you enable this setting, on the checkout page an input field is displayed that says "Add promotion code". See the image below for reference. To edit this setting > Log in to your circuly operations backend > Go to Settings > Checkout > ORDER OVERVIEW > Allow voucher Codes > Enable the switch if you want to display voucher code in the checkout and disable it if you do not want to display the voucher code.
.png)
- Google Tag Manager ID: you can enable conversion tracking on your checkout page. The tracking code is added to your checkout button on your checkout page. If you use Google Tag Manager to manage your tracking code, read this guide by Google to set-up your ecommerce tracking. To add a GTM code to your checkout button on your checkout page > Log in to your circuly Operations Backend > Go to Settings > Checkout > CHECKOUT FEATURES > Add your GTM ID in the Google Tag manager ID input field > Click on SUBMIT CHANGES.
- Shopsystem Stock: Enabling this setting will prevent your customers from advancing to the payment page in case they have a product in the cart that is not in stock. To enable this setting > Log in to your circuly Operations Backend > Go to Settings > Checkout > PRE CHECKOUT > Enable the button for Check system stock > Click on SUBMIT CHANGES.
- Delivery Countries: this is a dropdown list with country names that your customers can choose from if you have the Limit delivery countries settings enabled. To enable this setting > Log in to your circuly Operations Backend > Go to Settings > Checkout > DELIVERY > Select a list of countries from the Delivery Countries dropdown menu > Click on SUBMIT CHANGES.
- Limit delivery countries: if you would like your customers to select their country from a dropdown list then you can enable this setting. Once you enable this, make sure to select a list of countries from the dropdown menu in the Delivery Countries settings field. To enable this setting > Log in to your circuly Operations Backend > Go to Settings > Checkout > DELIVERY > Enable the button for Limit delivery countries > Click on SUBMIT CHANGES.
- Limit number of total cart items: you can add a number in the given input field to limit the number of items a customer can advance with to the payment page when they are on your checkout page. This is useful if you do not want one single custom to place an order for more than “x” number of products. To enable this setting > Log in to your circuly Operations Backend > Go to Settings > Checkout > PRE CHECKOUT > Insert a numeric value in the Limit number of total cart items input field > Click on SUBMIT CHANGES.
- Limit number of items per SKU: you can limit the number of items in the cart under a particular SKU. To enable this setting > Log in to your circuly Operations Backend > Go to Settings > Checkout > CHECKOUT LIMITATIONS > Insert a numeric (whole number and non-decimal) value in the Number of items per SKU input field > Click on SUBMIT CHANGES.
- Allow different shipping address: by enabling this setting you allow your customers to enter a different shipping and billing address. To enable this setting > Log in to your circuly Operations Backend > Go to Settings > Checkout > DELIVERY > Enable the switch for Allow different shipping address > Click on SUBMIT CHANGES.
- Free shipping cart value: if you offer free shipping only if the customer has reached a certain amount in their cart then you can add a value in the Free shipping cart value that your customers need to reach to qualify for free shipping. To enable this setting > Log in to your circuly Operations Backend > Go to Settings > Checkout > DELIVERY > Insert a numeric value in the Free shipping cart value input field > Click on SUBMIT CHANGES.