
How to Create a Webhook?
Webhooks are automated notifications sent from circuly to another system when certain events occur—allowing you to keep your external tools (like your bookkeeping software) in sync with your circuly data.
Introduction
A webhook allows circuly to push information to another system (rather than the other system needing to pull it). This is especially useful if you want to automate actions outside of circuly—for example, sending every transaction to your accounting tool, updating your CRM when a customer is created, or logging order activity in an external dashboard.
How It Works
To send data from circuly, you need to provide a URL where the information can be delivered.
- The URL can be:
- An endpoint in your own system.
- A URL generated by a no-code tool like Zapier.
- circuly sends POST requests to this URL whenever an event occurs.
This means your receiving URL must be configured to accept POST requests and handle incoming data correctly.
How to Create a Webhook
You can create webhooks directly in the circuly Hub by following these steps:
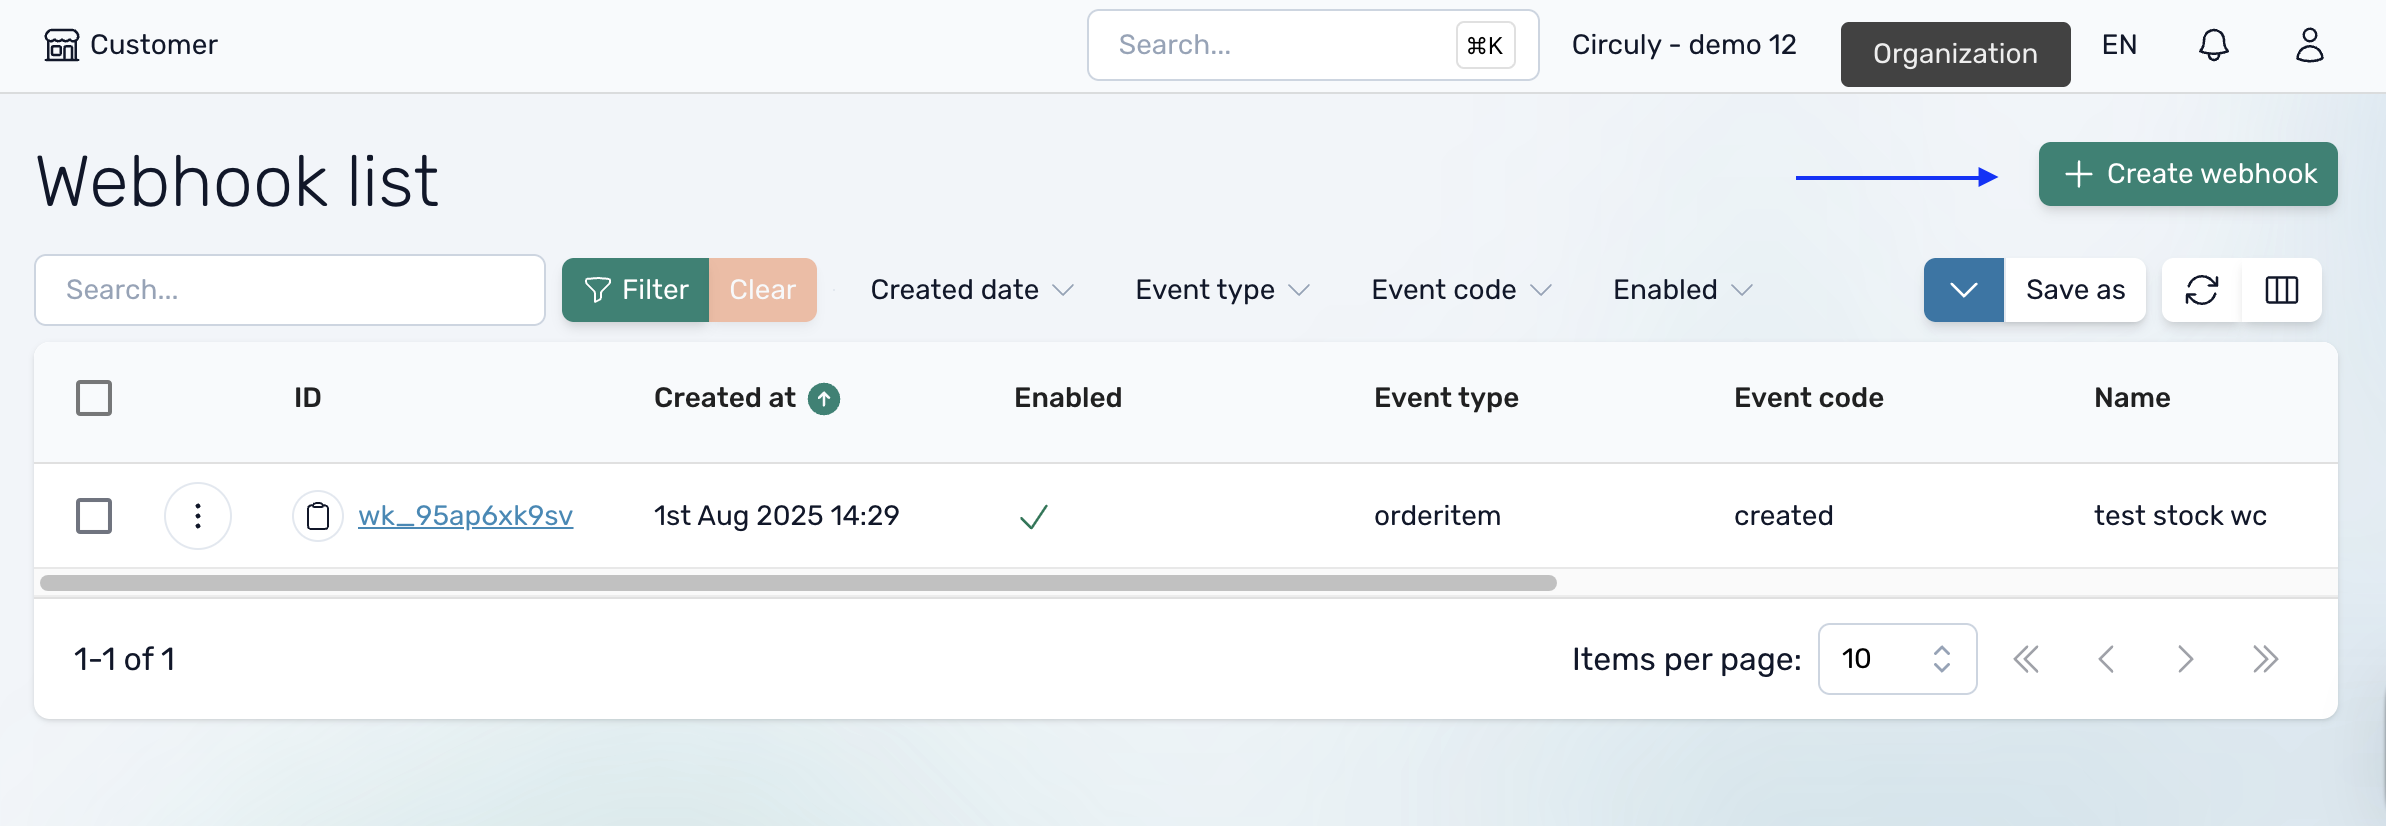
- Go to Webhooks
- In the circuly Hub, find Webhooks under the Admins section in the sidebar.
- Click on ‘Create Webhook’
- Configure the Webhook
- Select an Event: Choose the type of activity you want to track. You can currently create webhooks for:
- Customer
- Invoice
- Order
- Order Item
- Subscription
- Transaction
- Enter the URL: This is the endpoint where circuly will send the data. It must support POST requests.
- Select an Event: Choose the type of activity you want to track. You can currently create webhooks for:
- Save the webhook configuration.
From now on, circuly will push data to that URL every time the selected event occurs or is updated.
Bonus: Using Webhooks with Zapier
Want to use webhooks without writing any code? Here’s how you can do it with Zapier:
- In Zapier, create a new Zap.
- Choose Webhooks by Zapier as the trigger app.
- Select Catch Hook.
- Zapier will provide you with a URL.
- Copy that URL and paste it into the URL field in circuly when creating your webhook.
- Continue building the Zap to connect with your other tools (e.g., Google Sheets, Slack, or an invoicing tool).
How to Check What Data Is Being Sent
If you're unsure about what kind of data circuly is sending to your webhook, test it using:
- Webhook.site
This tool gives you a temporary URL to capture incoming requests and lets you view their content.
This can help you debug or map the fields correctly before connecting your webhook to your production system.