
Creating Manual Draft Order
Introduction
Typically an order appears in the circuly Hub when a website visitor goes over your checkout page and places an order. The next step is to create a subscription for the order to start collecting recurring payments. However you also have the possibility of creating orders from the circuly Hub. The Draft order feature in circuly allows you to create an order manually from the circuly Hub. This is especially useful in B2B transactions where you may operate on order-to-quote basis, in-store purchases, or customer service teams placing orders on behalf of customers.
Feature overview
In the Orders tab of the circuly Hub, you now have two options to create an order:
Create Quote
- Sends your customer a PDF quote + a pre-filled checkout link.
- The order will stay in Draft until the customer confirms by completing checkout with their payment details.
- Alternatively, you can confirm the order immediately and use the customer’s existing payment method (or let new customers add one in the Self-Service Portal).
Create Order
- Directly creates and confirms an order in circuly without any customer action.
- Payment will either be charged via the customer’s existing payment method or handled by invoice (the payments needs to be manually marked as setteled incase you chose to settle the payment via invoice)
This flexibility lets you decide whether you want the customer to complete checkout themselves or create a confirmed order on their behalf.
Step-by-step guide
Creating a order or quote
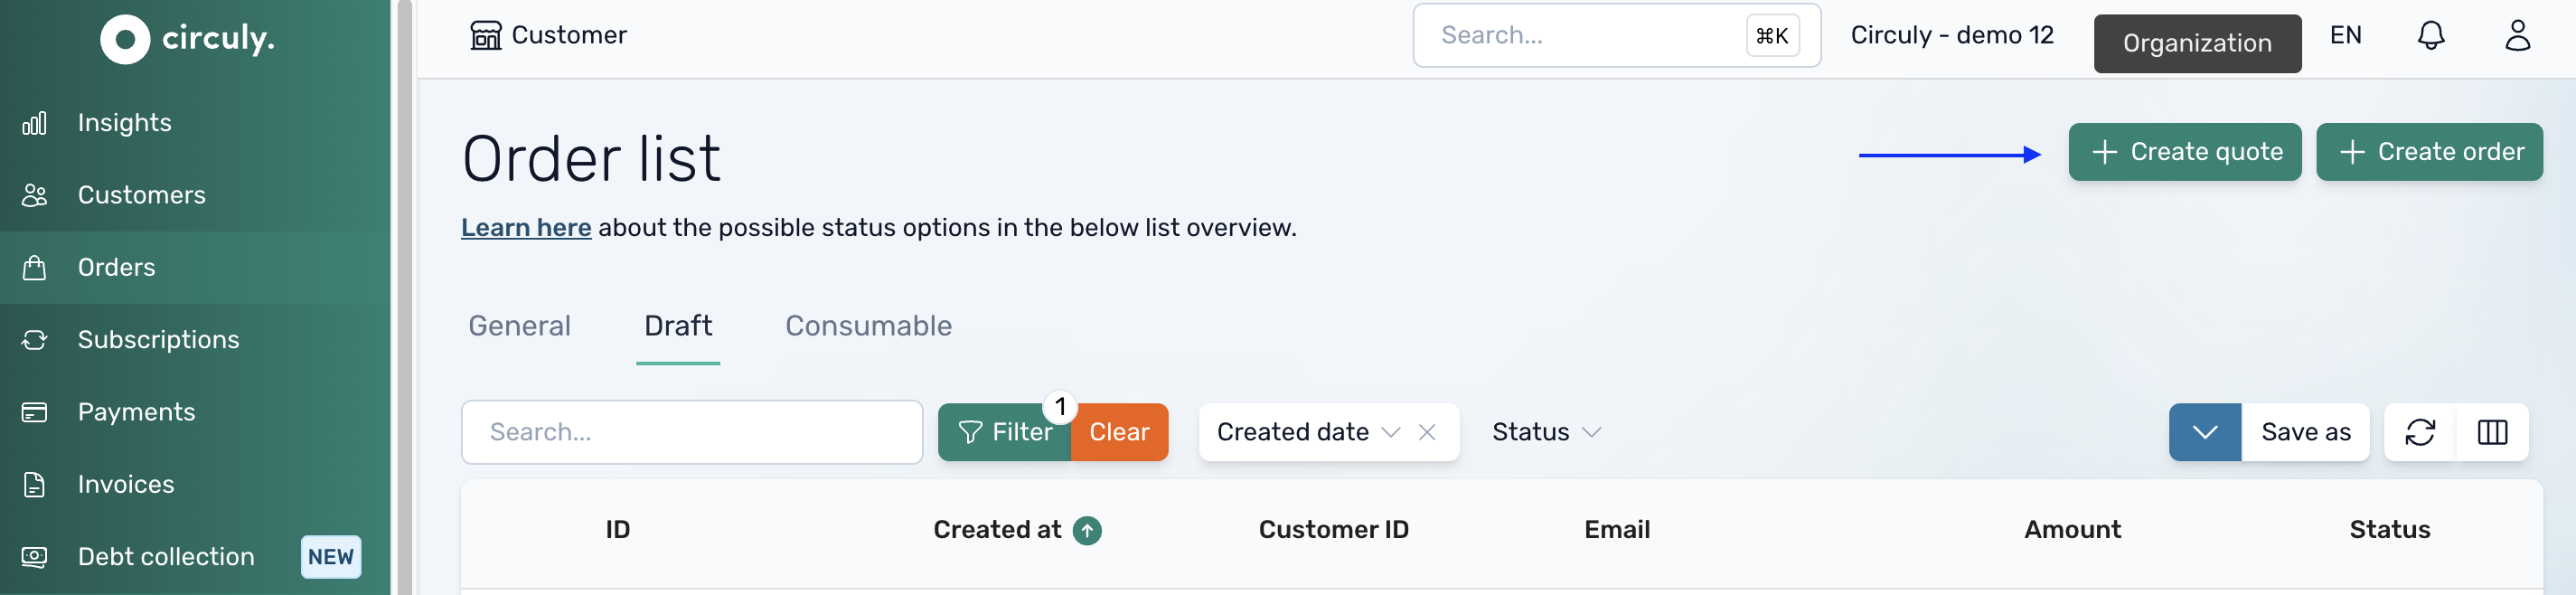
- In the circuly Hub > Navigate to the Orders tab.
- Click either +Create quote or + Create order in the to right corner.
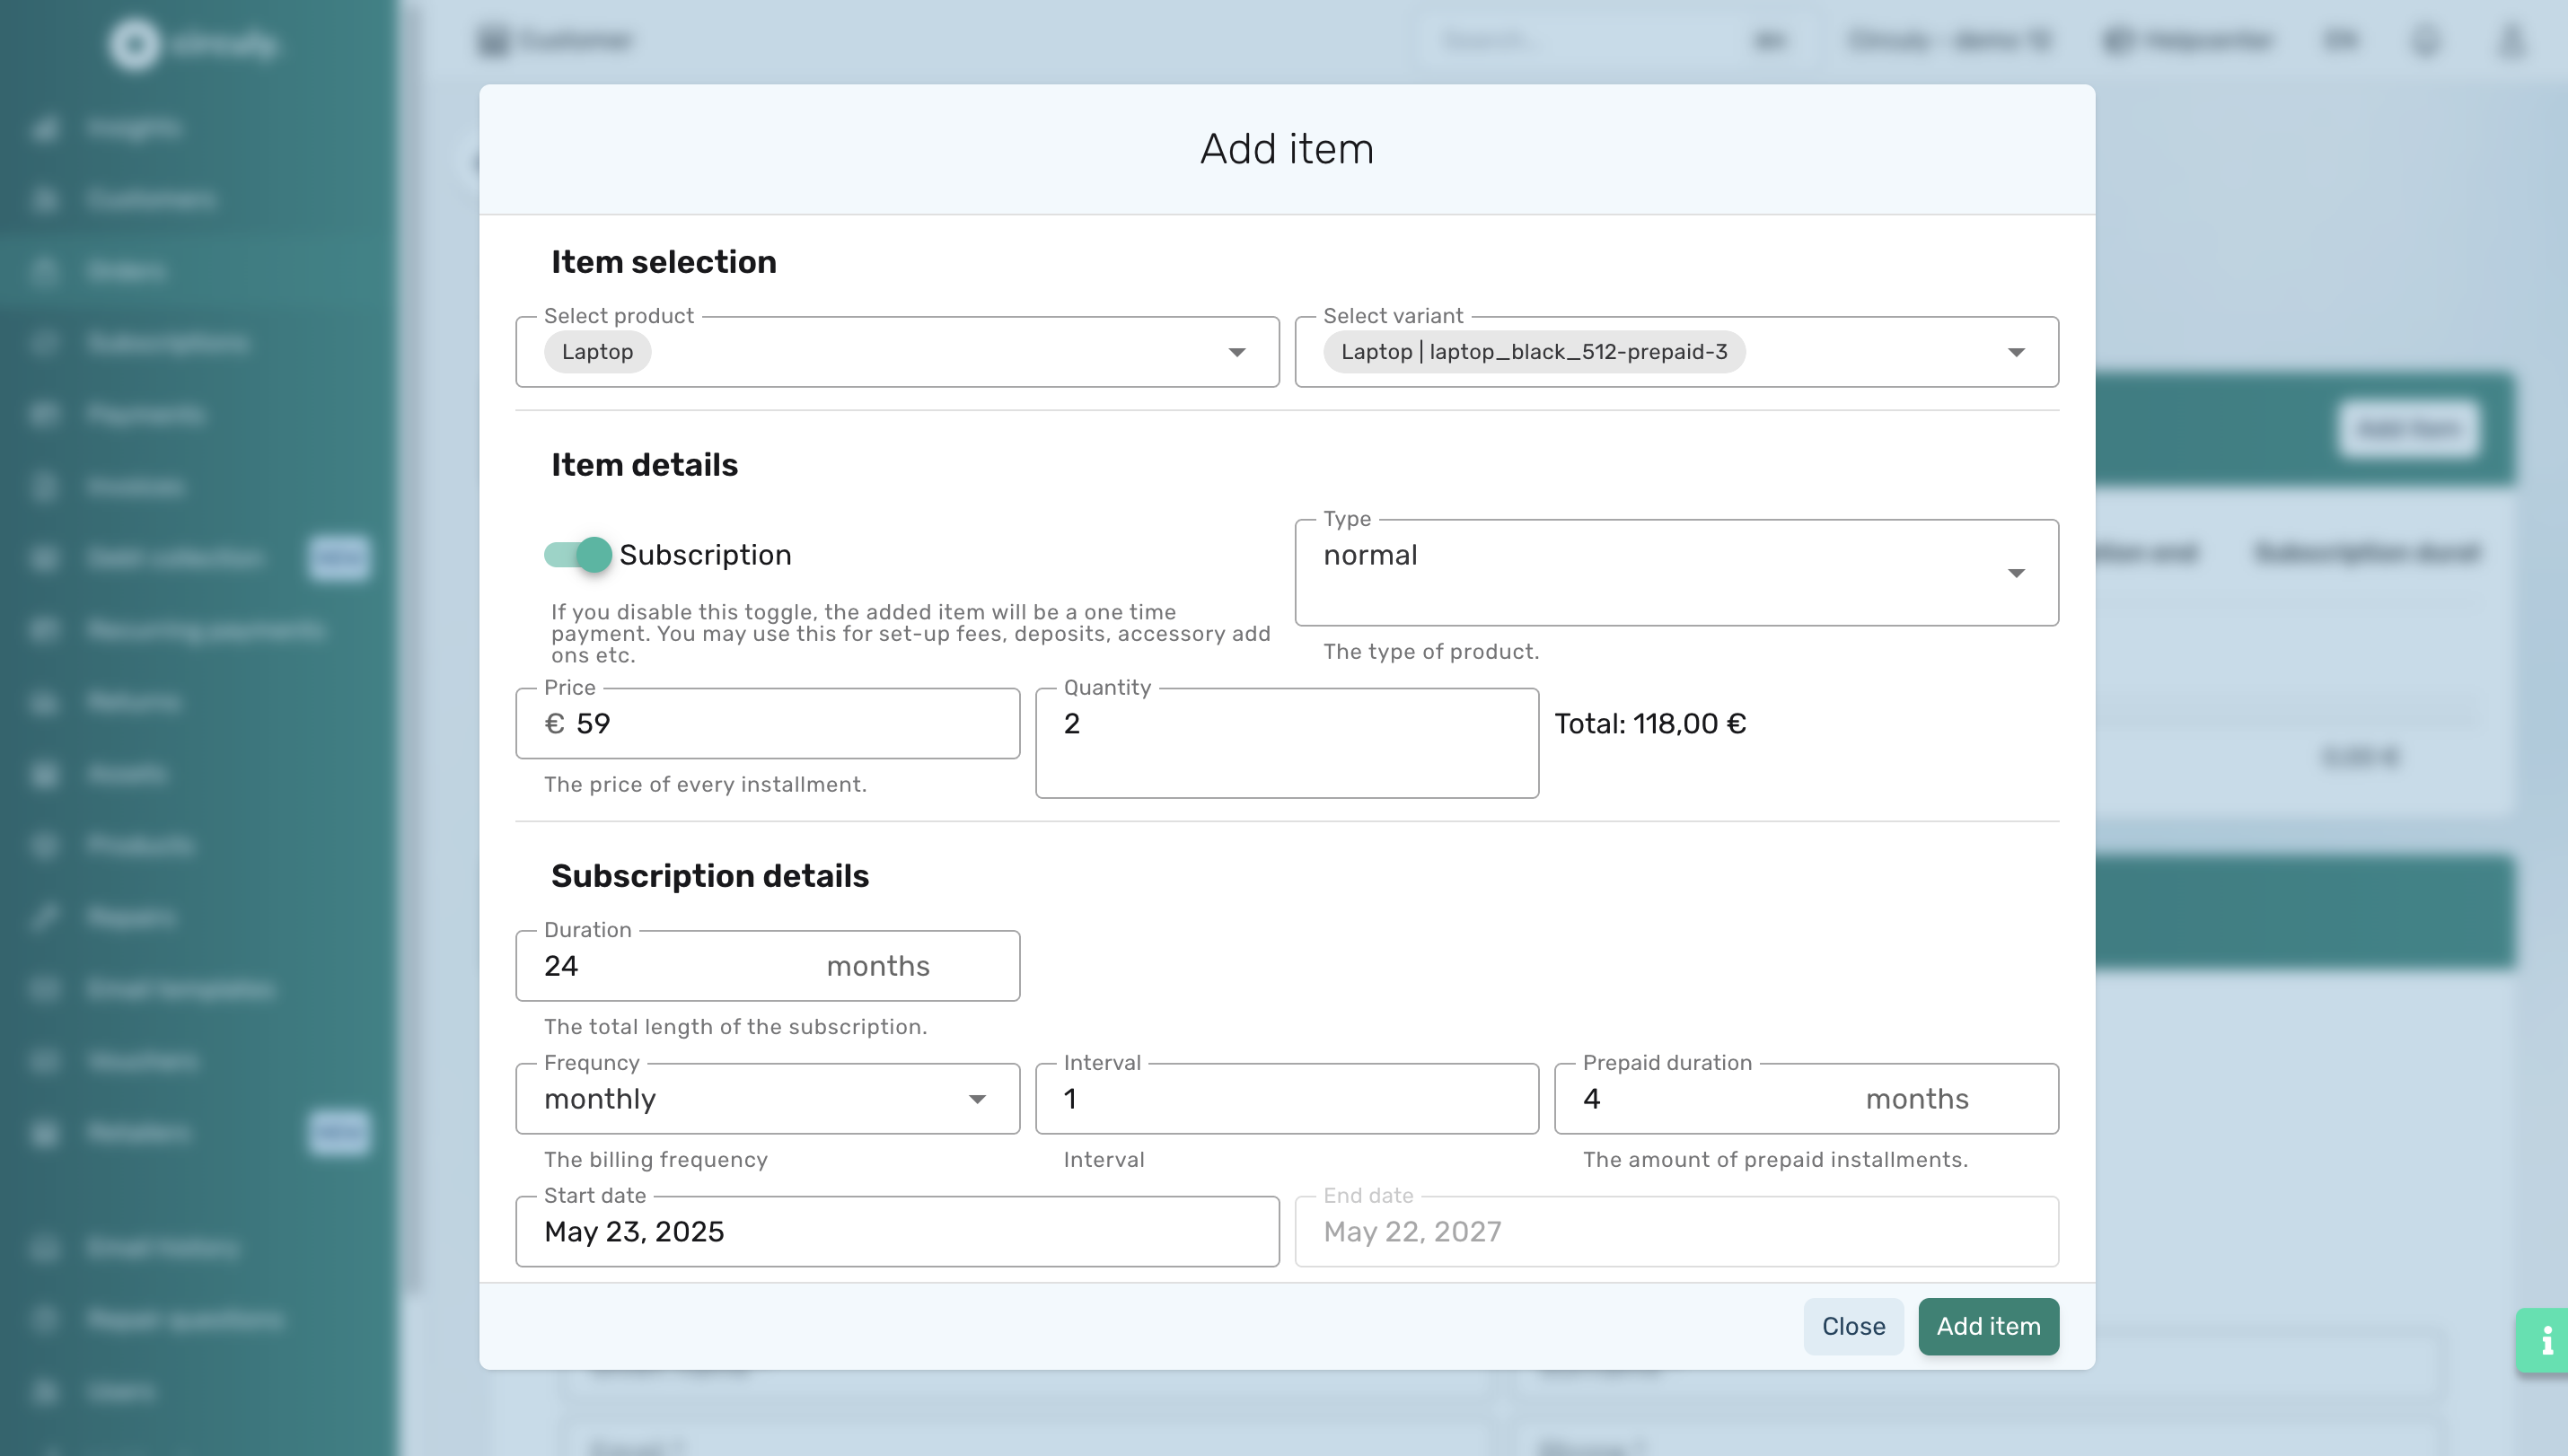
- In the Create window start by adding an item. To do so click on the Add item button.
- In the Add item window fill in the needed information such as:
- Selecting the product and the product variant (Note: Only limited number of products are visible in the dropdown menu. Therefore if you can’t find a product, simply type the name of the product in the input field. )
- Type of subscription: normal, consumable or digital
- Price & quantity
- Subscription details such as duration, freuency etc.
- Confirm your selection by clicking on the Add item button.
- Repeat the process if you want to add more items to the same order.
- In the Add item window fill in the needed information such as:
- Continue to the Address section > And add the customer information.
- Alternatively you can also choose an existing customer if the order is for a customer whose details already exist in the system. You can do so by clicking on the Select existing customer dropdown option and selecting a customer (You can search via first name, last name or email address).
- Check the details.
- (Optional) Add a note for the customer under Remarks (only available when you're creating the order as a quote). This note will be included in the email sent to them.
- Review all details and click Create to finalise.
Customer journey
- If you created a Quote:
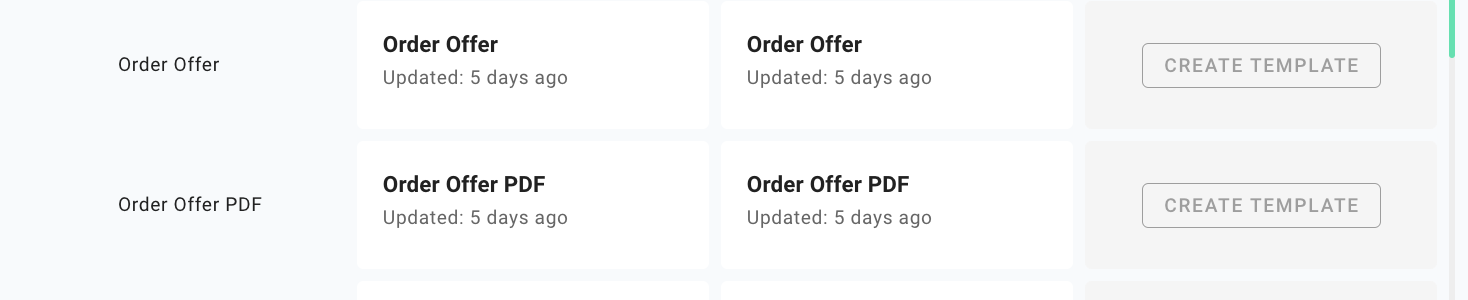
- The customer receives an email (based on the templates Order Offer and Order Offer PDF) with the PDF and a pre-filled checkout link.
- They complete checkout by adding payment details.
- Once confirmed, the order automatically moves from Draft to Orders.
- The customer also receives an Order Confirmation email.
- If you created an Order:
- The order is immediately visible under Orders in circuly.
- If invoice payments are used, invoices can still be sent via circuly, and payments should be marked as settled manually.

Note: The email templates used to send the email are: Order Offer and Order Offer PDF. Set up the email template before you start using this feature.
- When the customer clicks on the link, they are taken to the checkout page. All the details on the checkout page are pre-populated.
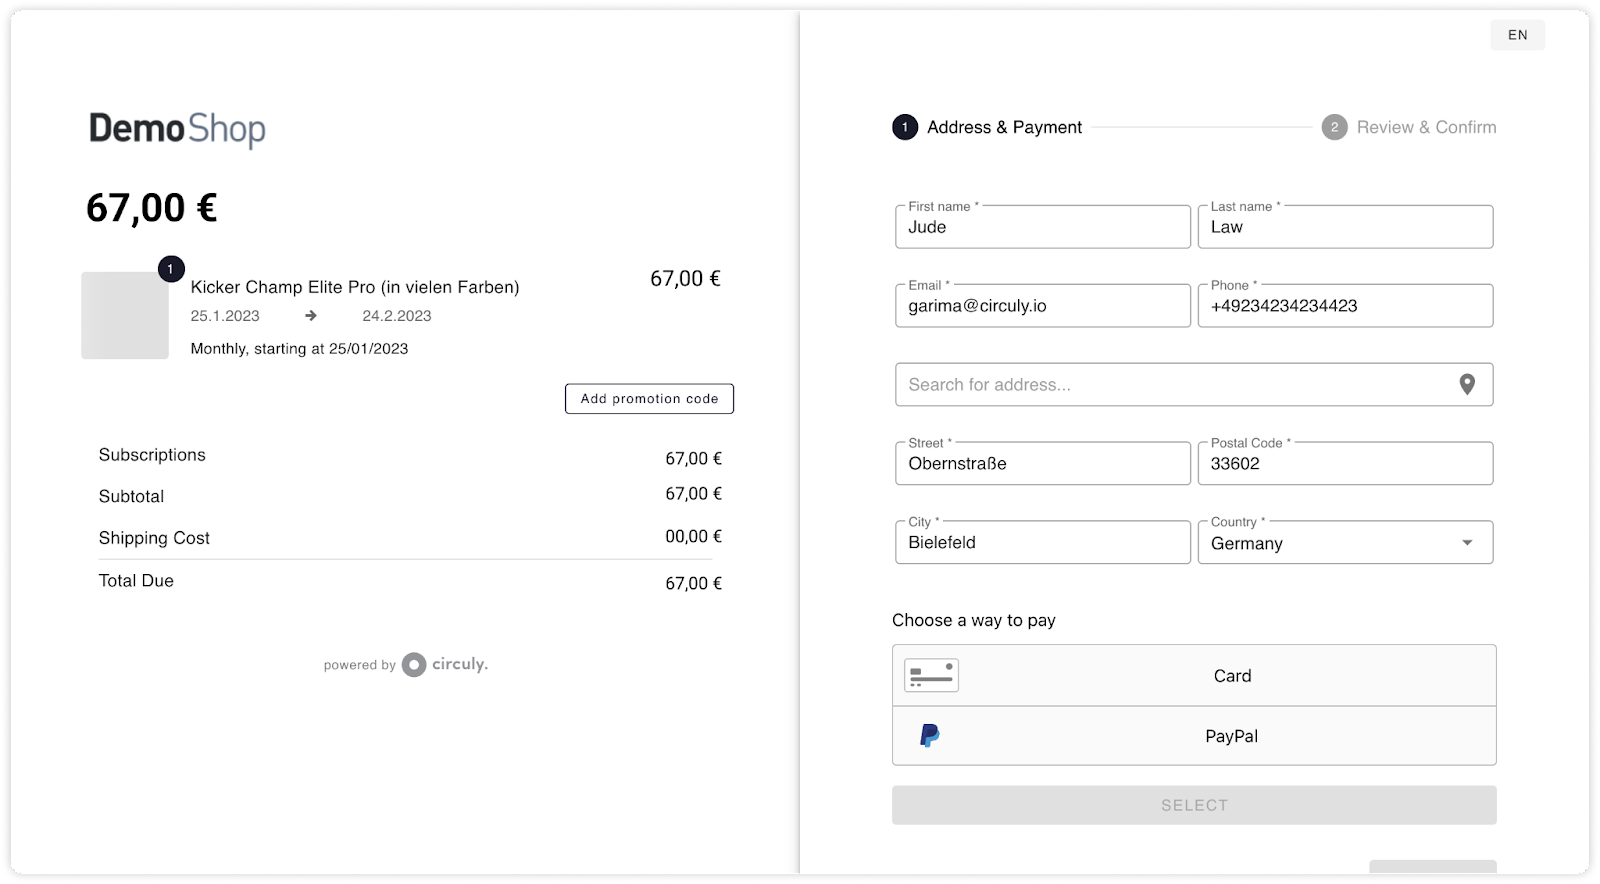
- The customer continues and finalises the order by adding the payment details and proceeding to the Order confirmation page.
- The customer also receives the Order Confirmation email when the order has been successfully processed.
What happens next
The status of the order will change from open to completed once the customer has successfully completed the process by adding their payment details on the checkout page.
Create a subscription for the order to start collecting the recurring payments.
Note: You can also work with the circuly API to create manual order. You can find the documentation here. Please keep in mind that this works only for offline payments. If you want to create an order with other payment service providers, kindly write a service desk ticket to our customer support.